Scanning the Code
Now that the CAST Highlight Agent is launched (if not you should find it in your Windows/EC2 Start Menu), you’ll see how easy the scanning process actually is. All you need to do is select the location where you have unzipped the source code of the first application:

At this stage, we only want to scan one of the applications. We could scan both of them together, but then their results would be bundled up together as a single application. In fact, the notion of Application relates to a set of files for which you want to see results calculated and displayed, separate from other applications.
The Pre-Scan
Click on Discover Files and you’ll see the agent work for a few seconds. This is the Pre-Scan phase where it identifies the types and number of files that are present in the repository. The result should look like this:
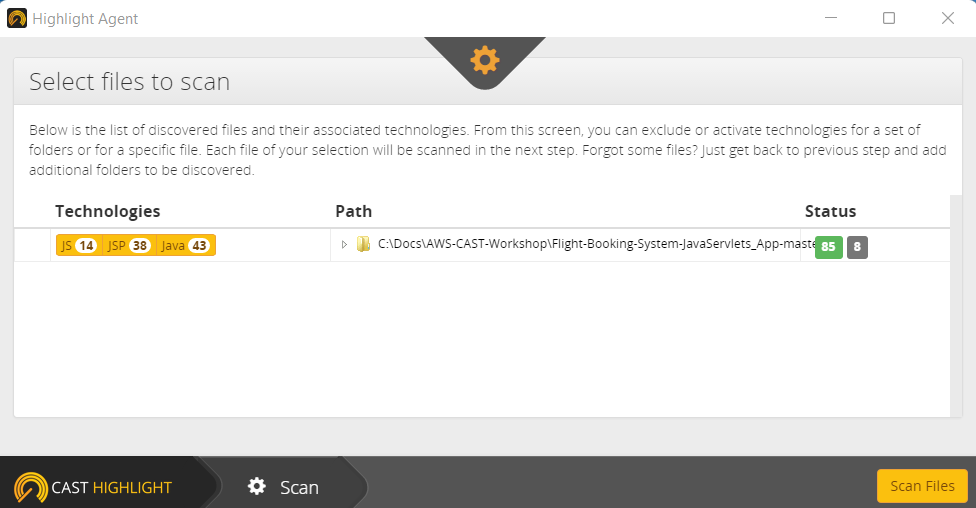 As you can see, the agent has identified 3 technologies and selected 85 files for scanning (leaving 8 files greyed-out because it has identified them to be from standard frameworks, and not your custom code).
This is where we would possibly filter out some files / folders / technologies in order to better target our analysis, but that’s not necessary in this case. We can just click on Scan Files and move along.
The Actual Scan and Results
Here you’ll see the scanner work through each of the selected files, after which it will let you know it’s done and ask you to confirm the scan results:
 Since we’re happy with the results, you can click on Confirm Results.
 By analyzing the project files, the agent has identified the presence of several frameworks. This is where you have the option to add / remove items from the list should you have some more intel. For this workshop, we’ll just click on Confirm Frameworks.
 The summary of the scan is displayed, and by clicking on Save we’re prompted to choose a location to store the scan’s results. The resulting .zip file will be located there.

You can go back to the start and repeat the process with the second application, after which you should have two HighlightResult…zip files.
Onto the upload
All we have left to do is send our results to the SaaS portal…