Declaring the Apps
We need to let CAST Highlight know what we’re going to be dealing with, which is:
- We are adding two new applications to the portfolio
- We are going to launch a campaign for collecting intel from these applications
Extending the portfolio
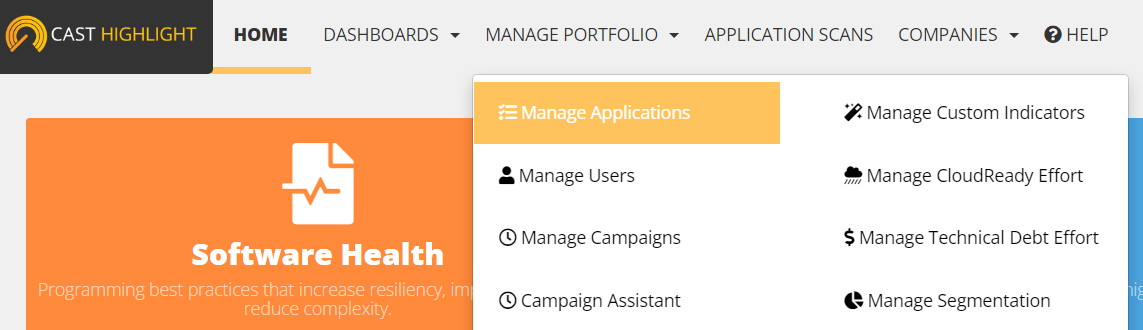
From the CAST Highlight home page, click on the MANAGE PORTFOLIO menu and then on Manage Applications:
If you can’t see the MANAGE PORTFOLIO menu up there, this means that you’re viewing a subdomain where you’re not a Portfolio Manager, but only a Results Viewer. You can get to your own subdomain by clicking on the funnel icon and selecting the one named after your address:

 The administration menus will automatically appear at the top of your screen.
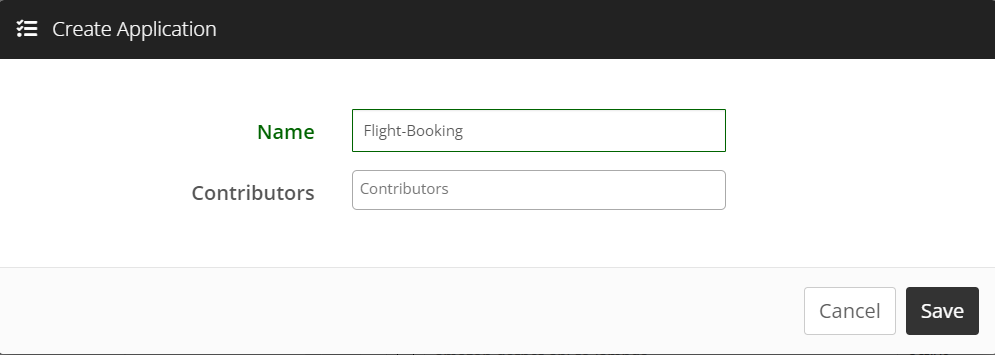
You’ll reach the applications management page (which at this stage should show an empty list). Let’s click on that big + Create Application button to add our first new app.
You can give it a name and set yourself as a Contributor (or leave the Contributors box empty - at this stage it doesn’t really matter), then click on Save.
And you’ll see the application added to the list of apps.
Once this is done for the two applications, we can create our campaign.
Launching the campaign
Click on the APPLICATION SCANS and you’ll reach the campaign management page. From there, click on the Launch a new Campaign button and follow the Wizard:
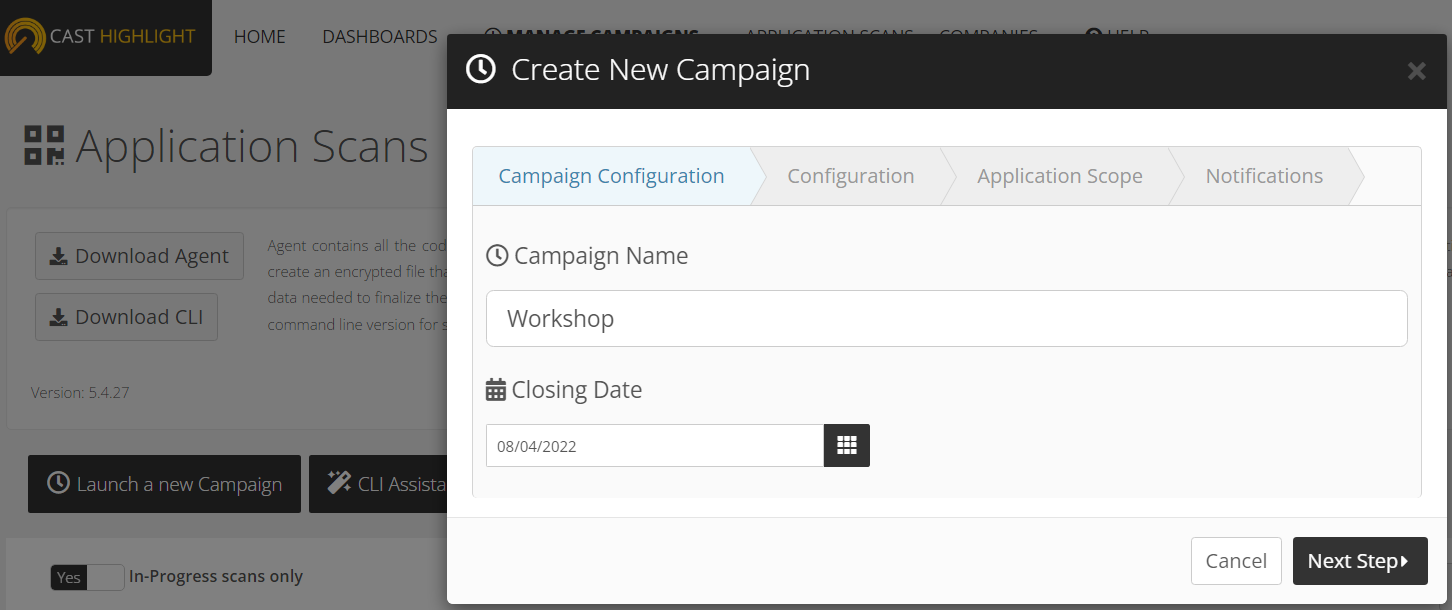
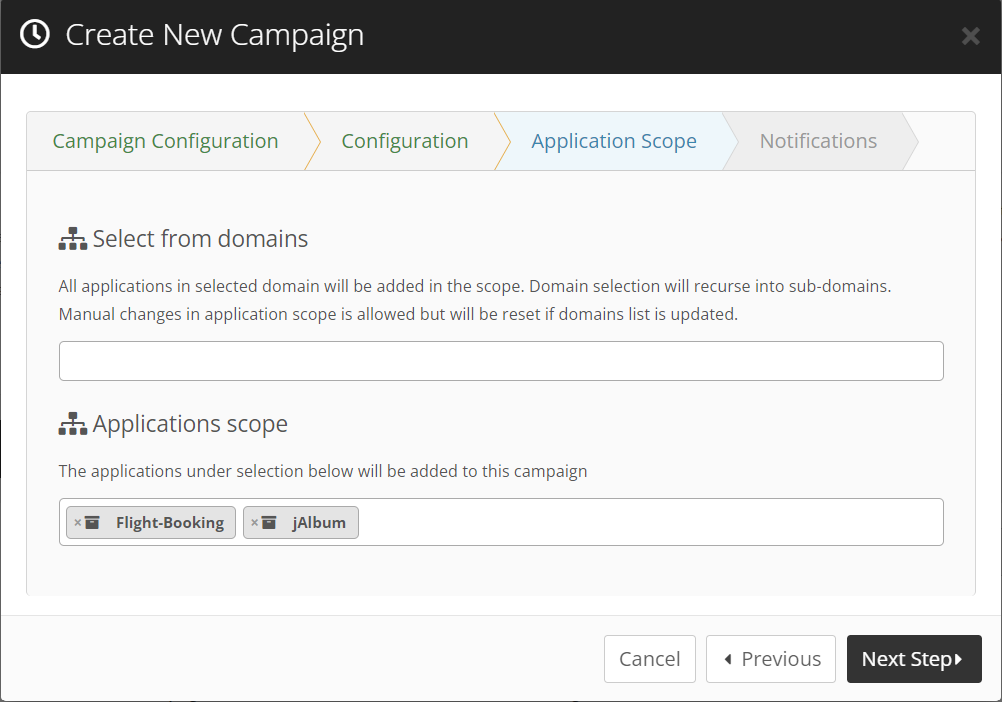
In the Configuration tab, we’ll ask for both the source scans and some survey answers. Let’s add the two most basic surveys: Application Properties and Business Impact

CAST Highlight allows you to enrich the information gathered on the app with the help of surveys. In addition to the out-of-the-box surveys included in the product, surveys can be added and customized at will to enable your teams to capture relevant facts and even create custom KPIs to be added to your custom dashboards.
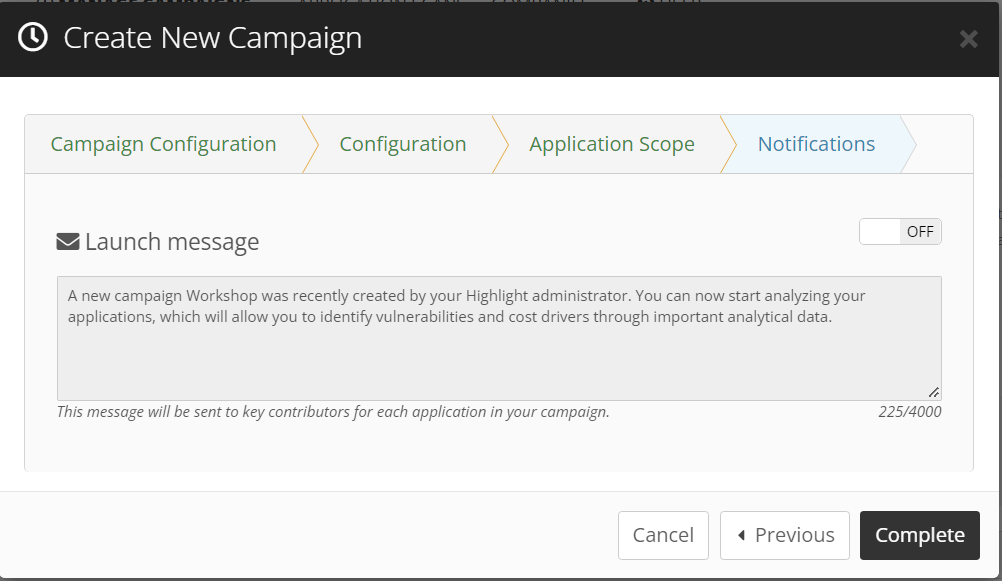
 You may set the Launch message to OFF as we don’t have any other Contributors to inform about this new campaign.
 And now our campaign management screen shows two pending scans associated with our ongoing campaign:

Onto the tools
Now, we’ll download and install the analyzer…